Your basket is empty
BEFORE YOU POSE:
1 - The strips are numbered. Pay close attention to how they fit into the space and check their joints before laying. In the event of a problem, contact us at [email protected].
2 - The installation is done on a uniform and smooth wall, coated with a white primer.
3 - You will need a glue for non-woven wallpapers and make sure to follow the manufacturer instructions.
4 - Margins can be cut after complete drying.
WARNING: Special case for our ASMR and Sunset gradient models: a tapestry is preferable for a perfect look.
Download our upholstery installation tips here.
MATERIAL NEEDED :
- Glue for non-woven paper (in DIY stores)
- Cutter and new blades
- Marouflage brush, or a clean and dry cloth
- Sponge & bucket
- Gluing roller or brush
- Bubble level or plumb line
- For the finishing, an upholsterer's squeegee
1 - Preparation
The installation is done on a white, smooth, clean, uniform and dry wall.
If your wall was wallpaperedIf your wall was wallpapered, be sure to remove the old wallpaper, sand if necessary and wash. Apply a primer/underlayment.
If your wall was painted with a glossy or lacquered surface, sand and wash. Apply a primer base.
Be sure to remove switches, sockets, wall lights,... before installation.
2 - Installation marker
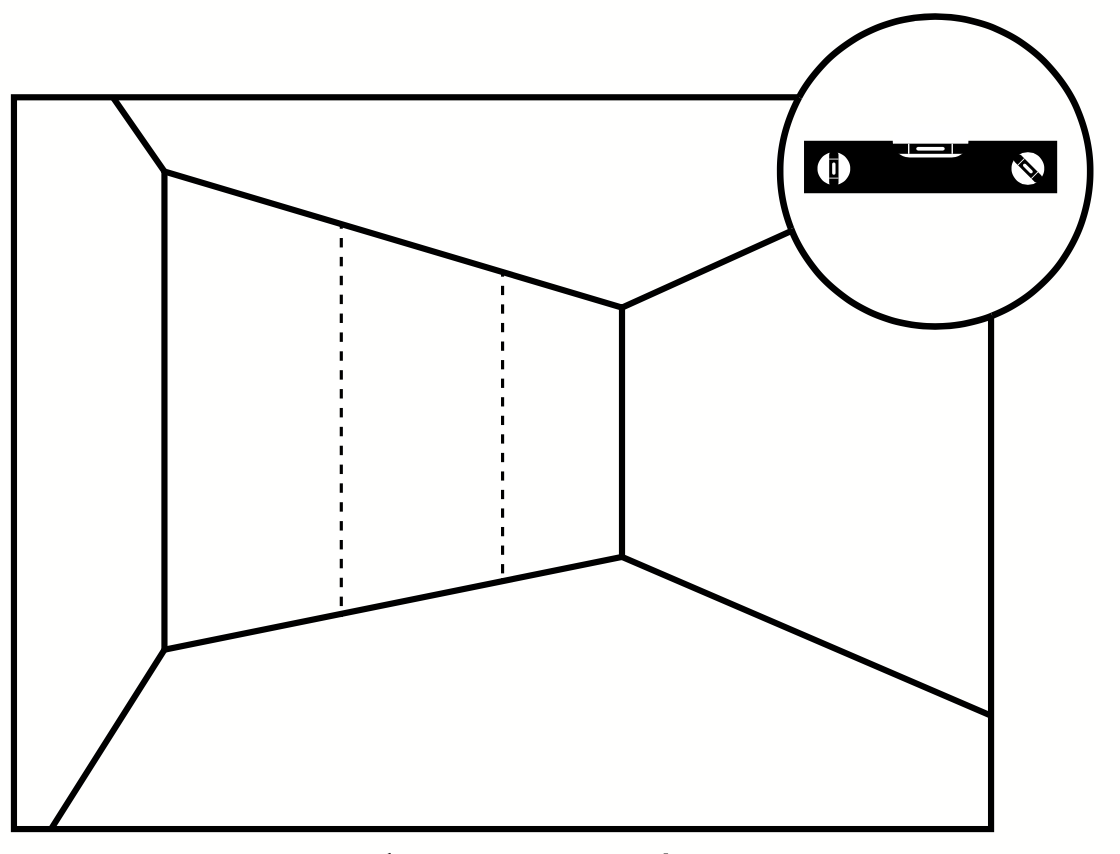
Draw a vertical line from the left side of your wall, equivalent to the width of your strip; use a level or plumb line.
This will allow you to lay the 1st strip straight, as ceilings or corners are often not perfectly linear !
To be renewed for each strip.
3 - Gluing the wall
Apply the glue generously and directly onto the area that will receive the first strip, using the glue brush and/or a roller. For a perfect finish, apply glue slightly beyond the installation mark for good adhesion.
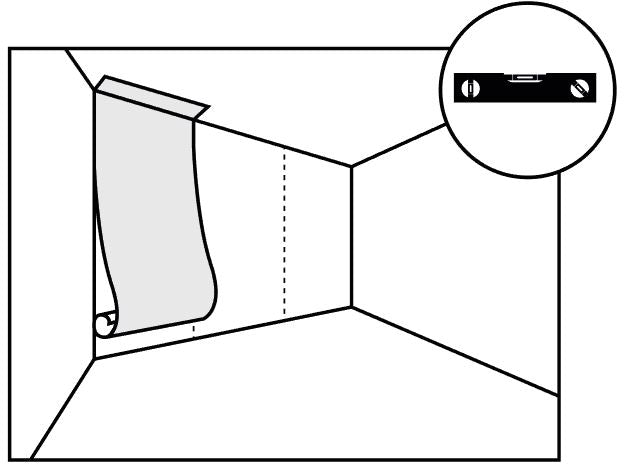
4 - Laying a strip
Unroll your strip from the ceiling to the floor. In case the ceiling is not perfectly straight, keep some margin at the top.
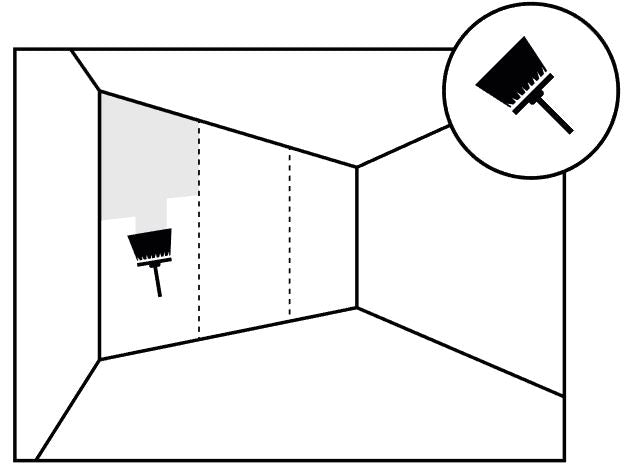
5 - Removing air bubbles
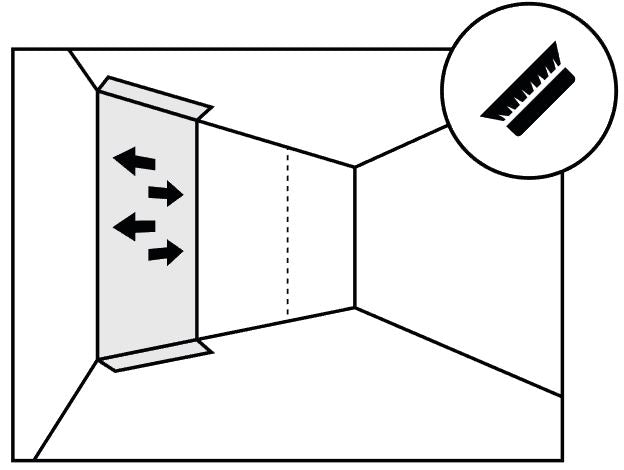
Scrub from the top, moving from the centre outwards with a clean brush or cloth to remove air bubbles and excess glue.
If excess glue spills over the strip, don't panic, just remove it with a clean, wet sponge.
6 - Fittings
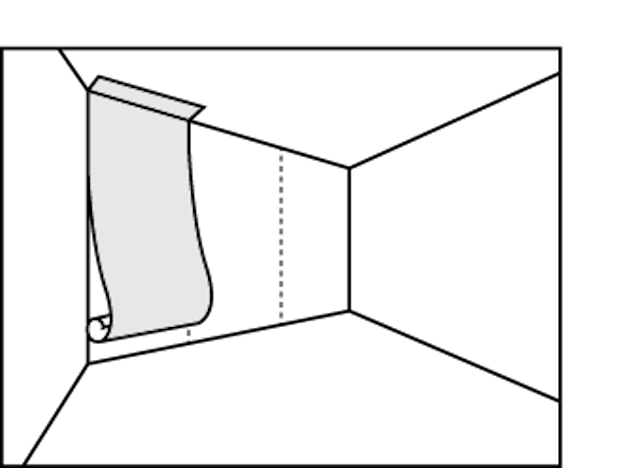
Repeat the previous steps, paying attention to the pattern's connections. It is best to start at the halfway point to avoid shifting.
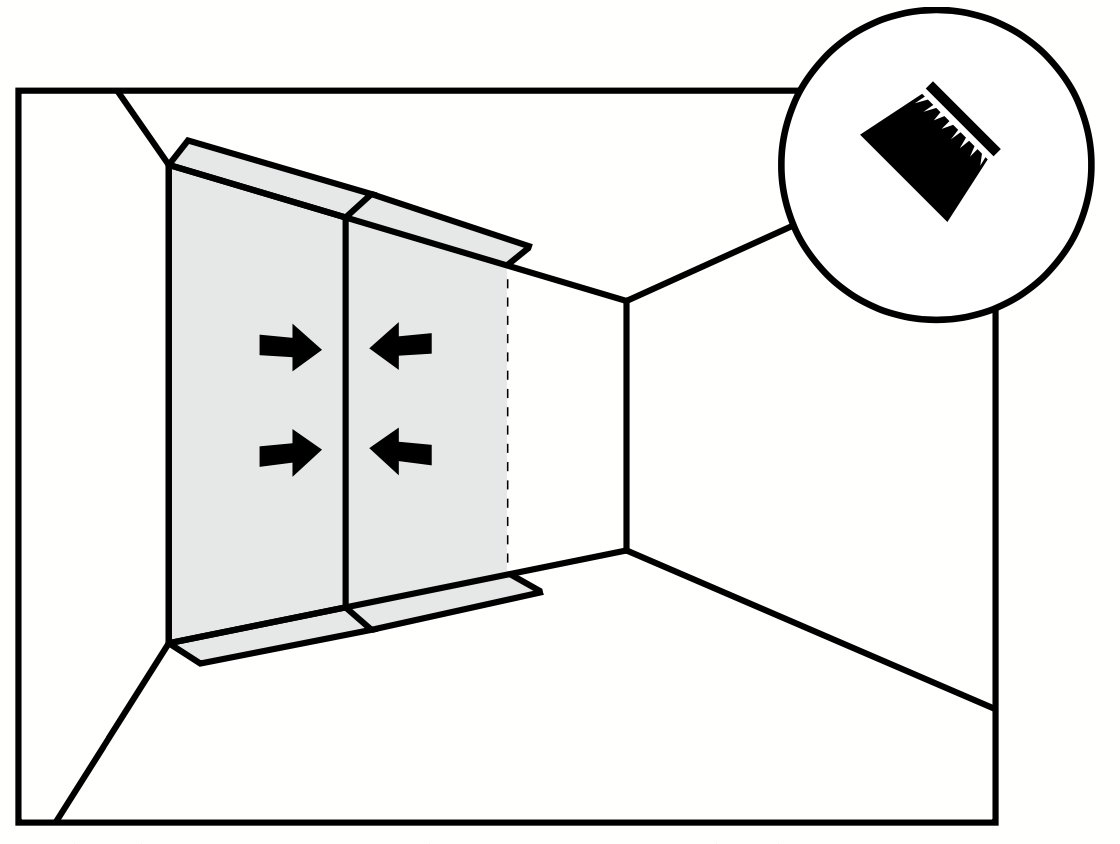
Our paper does not shrink when drying: it is therefore necessary to lay the strip edge to edge with the previous one, without leaving any margin or superimposing the strips (except, in a special case, for our gradients: installation here) In case of error, rest assured: you can reposition the strips as long as the glue is not completely dry.
7 - Leveling
For a perfect finish, use an upholstery squeegee to flatten your joint.
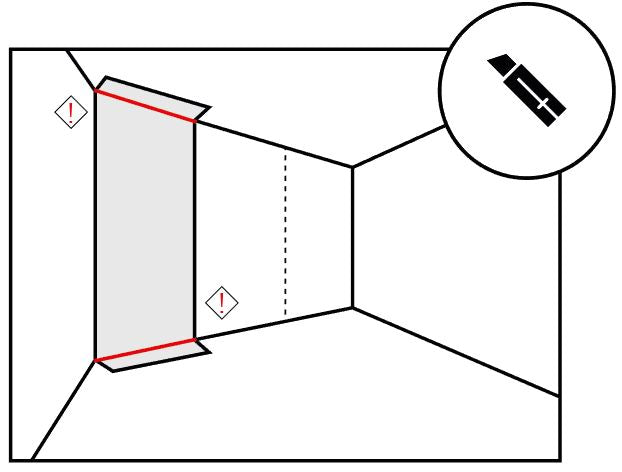
After complete drying only, cut off the excess at the bottom, top and sides. Use a clean, sharp cutter blade, new if necessary.
8 - Your decor is set!
All you have to do is send us a nice picture of your interior, we are always delighted to see the final result !
If you have any questions, please contact our customer service: [email protected]
